Food in Jars (21 page)
Authors: Marisa McClellan
Wipe the rims, apply the lids and rings, and process in a hot water bath for 10 minutes (see
page 11
).
Note:
It is particularly vital here that your cumin is potent. As it ages, cumin can turn muddy; making for decidedly lackluster pickles.

I
READ SOMEWHERE THAT THE NAME “BREAD-AND-
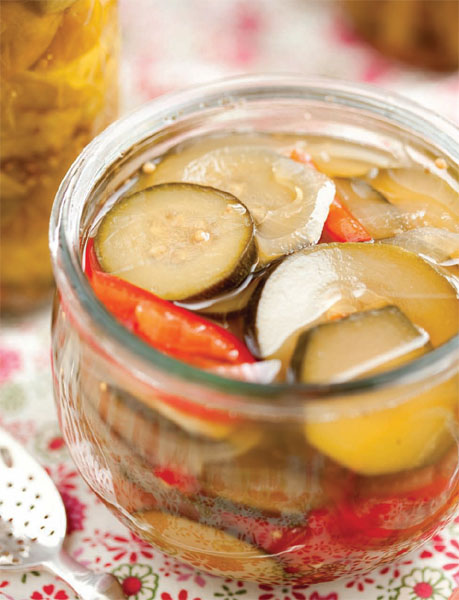
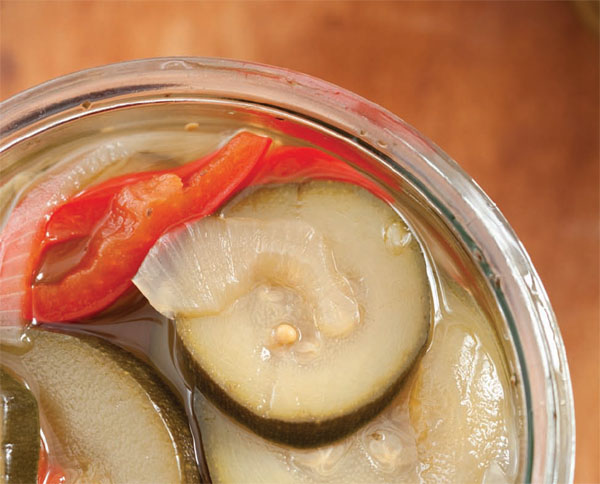
butter pickle” is a remnant of leaner days. When a family lacked the means to purchase more exalted sandwich fillings, they'd turn to jars of homemade sweet pickles to round out a meal of bread and butter. Whether or not the story is true, I do find that these pickles are excellent both as sandwich topper and as a straight-from-the-jar snack. For unabashed dedication to authenticity, search out a knife or mandoline designed to make crinkle cuts.
6 cups thickly sliced pickling cucumbers (about 1 quart/1 kg whole cucumbers)
2 cups sliced red bell peppers (about 2 peppers)
2 cups sliced onion (about 1 large onion)
¼ cup/50 g pickling salt
2 cups/480 ml apple cider vinegar
1½ cups/300 g granulated sugar
2 tablespoons mustard seed
2 teaspoons celery seed
1 teaspoon red pepper flakes
½ teaspoon ground cloves
Combine the sliced cucumbers, bell peppers, onion, and pickling salt in a large bowl. Place them in the refrigerator and let them sit for between 4 and 12 hours. The goal is to draw as much liquid out of the cucumbers as possible (so it can later be replaced with the brine). Rinse and drain the vegetables.
Prepare a boiling water bath and 5 regular-mouth 1-pint/500 ml jars according to the process on page 10. Place the lids in a small saucepan, cover them with water, and simmer over very low heat.
Combine the vinegar and sugar in a large pot. Heat over medium heat until the sugar is dissolved. Add the mustard seed, celery seed, red pepper flakes and cloves. Increase the heat to high and bring the brine to a boil. Add the drained vegetables and stir to combine. Cook for 5 minutes, until all the vegetables in the brine are fully heated through.

Using tongs, fill the sterilized jars with the vegetables. Slowly pour the hot brine over the vegetables in each jar, leaving ½ inch/12 mm headspace. Gently tap the jars on a towel-lined countertop to help loosen any bubbles before using a wooden chopstick to dislodge any remaining bubbles. Check the headspace again and add more brine if necessary.
Wipe the rims, apply the lids and rings, and process in a boiling water bath for 10 minutes (see
page 11
).
Let these pickles cure for at least 48 hours before eating.


T
HESE PICKLED JALAPEÃO PEPPERS ARE UTILITARIAN
canning at its best. Pickling without the addition of herbs or a spice mix means that they remain a fiery blank slate, perfect for adding to salsas, taco filling, chili, or scattering atop plates of nachos. I like to put these up in either half- or quarter-pint jars, as I struggle to move through an entire pint in a timely manner, but if your household is more into consuming spicy food, feel free to use the pints. And, if jalapeño peppers aren't your bag, do know that this technique can be used for any small, hot pepper.
2 cups/480 ml distilled white vinegar
2 tablespoons pickling salt
1 pound/455 g jalapeño peppers, sliced in half lengthwise
Prepare a boiling water bath and 5 half-pint/250 ml jars according to the process on page 10. Place the lids in a small saucepan, cover them with water, and simmer over very low heat.
Combine the vinegar, 2 cups/400 ml water, and salt in a pot over high heat and bring the brine to a boil.
Meanwhile, pack the peppers into the sterilized jars. Slowly pour the hot brine over the peppers in each jar, leaving ½ inch/12 mm headspace. Gently tap the jars on a towel-lined countertop to help loosen any bubbles before using a wooden chopstick to dislodge any remaining bubbles. Check the headspace again and add more brine if necessary.
Wipe the rims, apply the lids and rings, and process in a boiling water bath for 5 minutes (see
page 11
).
Let these pickles cure for at least 1 week before eating.
Note:
Working with hot peppers can be dangerous business. I make a practice of keeping some chemical-resistant gloves around the kitchen to protect my hands from the burn of the oils. If you do end up with burning fingers, I recommend rinsing the area right away with a diluted bleach solution, as it helps alleviate the burn.


T
HIS RECIPE IS MY INTERPRETATION OF THE FRESH
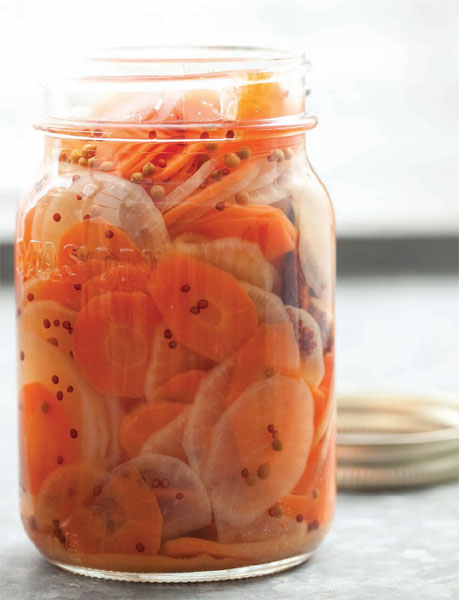
pickles often served alongside entrées at Vietnamese restaurants. After I made them, I discovered that they are equally good tucked inside a homemade taco or stacked inside a turkey sandwich. I will often find myself eating these mindlessly from the jar, in those moments while I ponder the contents of our refrigerator and hope that dinner inspiration will suddenly strike. If you've never come across daikon radish before, it can typically be found in the produce section of your local Asian grocery store.
1 pound/455 g carrots
1 pound/455 g young daikon radish
1½ cups/360 ml distilled white vinegar
¾ cup/150 g granulated sugar
3 tablespoons pickling salt
1½ teaspoons ground ginger
3 tablespoons coriander seeds
2 teaspoons black mustard seeds
½ teaspoon red pepper flakes
3 whole star anise
Prepare a boiling water bath and 4 regular-mouth 1-pint/500 ml jars according to the process on page 10. Place the lids in a small saucepan, cover them with water, and simmer over very low heat.
Using a mandoline or food processor with the slicing blade, slice the carrots and daikon radish into paper-thin rounds and set aside.
Combine the vinegar, 1½ cups/360 ml water, sugar, salt, and ground ginger in a pot and bring the brine to a boil.
Meanwhile, combine the remaining spices in a small bowl and stir to blend. Add the spice blend to the sterilized jars, distributing evenly.
Once the brine has come to a boil, add the sliced vegetables to the brine in the pot. Stir to combine and remove from the heat.
Using tongs, add the vegetables to the jars. Slowly pour the hot brine over the vegetables in each jar, leaving ½ inch/12 mm of headspace. Gently tap the jars on a towel-lined countertop to help loosen any bubbles before using a wooden chopstick to dislodge any remaining bubbles. Check the headspace again and add more brine if necessary.
Wipe the rims, apply the lids and rings, and process in a boiling water bath for 5 minutes (see
page 11
).
Because they're so thinly sliced, these pickles don't require any curing time and can be eaten immediately.
