Sew What! Bags: 18 Pattern-Free Projects You Can Customize to Fit Your Needs (7 page)
Read Sew What! Bags: 18 Pattern-Free Projects You Can Customize to Fit Your Needs Online
Authors: Lexie Barnes
GET A GRIP!
It’s a huge bummer to have your straps rip out, especially when you’re out and about and your bag is full! So when you’re mapping out your bags, always think about what you’ll be carrying in them. You’ll want to be sure your straps and handles can take the load. It’s a good idea to choose heavier weight fabric for tote straps and to reinforce where they attach to the bag with a box stitch (
see page
43
). A little forethought will work wonders.
Interfacing is a layer of special material you can add to the wrong side of your fabric for extra support and structure. It comes in a variety of weights and in two styles: fusible (iron-on) or sew-in. The projects in this book do not require interfacing, but if you want to try it, just follow the manufacturer’s instructions. I recommend fusible interfacing for beginners; just be sure the sticky side is facing the fabric or you’ll get adhesive all over your iron.
Batting is cotton or man-made material used for padding, filling, or quilting. Batting is available in a variety of weights (or “lofts”) and materials. You can use cotton, polyester, cotton-poly blends, or wool. If you want to add padding to your bag (between the outer bag and the lining), this is a good way to go (
see page
136
). If you aren’t sure which type or loft you’ll need, ask your local fabric or quilting store for guidance.
I tend to keep my bag designs pretty clean, but there are a million ways to add your own personal touch to the projects in this book. Here are a few suggestions for you:
APPLIQUÉ
. A design that is sewn (or glued) onto your project. The possibilities here are endless, since you can make your own or buy manufactured designs at many stores.

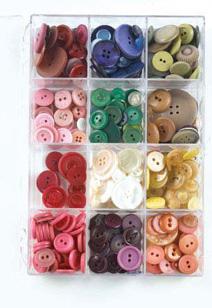
BUTTONS
. Can be used as a closure on your bag — but don’t limit yourself! Buttons can also be used to add a decorative touch to your projects.
BIAS TAPE
. These strips of fabric, primarily used for binding raw edges, are cut on the bias. Bias tape is also great for adding structure, reinforcing edges and pockets, and showing off compartments of your bag. Pre-folded bias tape is available at most fabric stores, in single-fold or double-fold, and in a variety of widths and colors.
You can also make your own bias tape (
see page
47
) by measuring, folding, and pressing strips of fabric cut on the bias. Or you can feed strips of fabric into a bias-tape maker, which folds and presses the strips into “tape” that is one quarter of their original width. Bias-tape makers come in a few different sizes and are available in fabric stores.
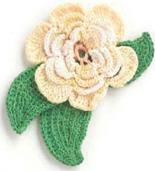
EMBROIDERY
. A stitched design on your project, embroidery can be accomplished by hand or by using a special machine. (
See
Resources
for some suggestions
.)
FABRIC MARKERS, PENS, AND PAINT
. If you want to draw or paint designs onto your bag, you can find a wide array of choices at your local craft or hobby store.
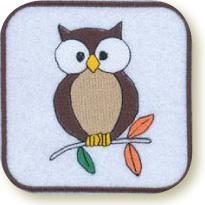
PATCHES
. You can make your own or find fun options at fabric and notions stores. Sew-on and iron-on varieties are available.
RIBBON
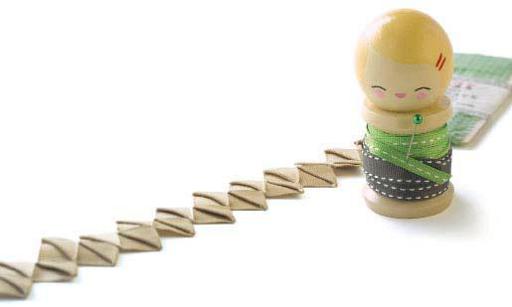
. Use ribbon for drawstrings or simply for decoration. Choose from an entire rainbow of colors, widths and textures to make your bag sing.
TWILL TAPE
. Use it for tie closures, straps, drawstrings, or handles. Twill tape is available in different weights, widths and colors.
2
Sewing Basics
LIKE EVERYTHING FUN, THERE IS A LOT OF JARGON
and mumbo jumbo to learn when you sew. At first, some of the lingo seems daunting. But once you know what the words mean, everything starts to make sense. Don’t just smile (even to yourself) and fake it. If you don’t know what something means, ask someone or look it up. You’ll be surprised to learn that most people are more than happy to share information with you.
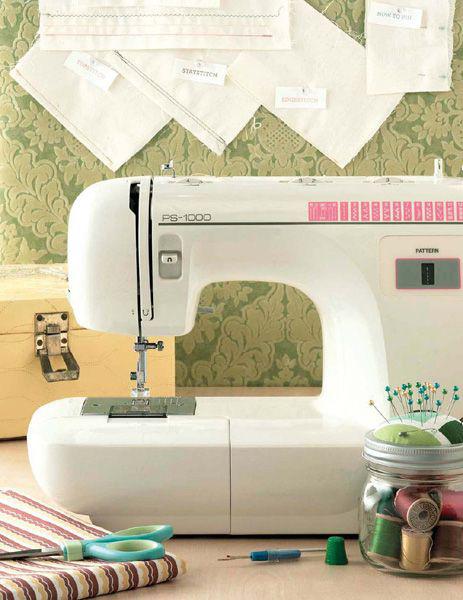
The first thing you need is a comfortable, suitable workspace — a place where you don’t have to clear piles of old mail to the side or shove your unfolded laundry down to the floor. It’s much easier to get in a creative zone when you aren’t distracted by clutter. While you probably don’t have an entire room to devote to your sewing, it’s best if you can find a dedicated spot for all of your sewing work.
You’ll want a sturdy surface for your sewing machine and a stable, comfy seat. I like chairs that are adjustable, wheeled, and ergonomic. Even if you get a lot of natural light, it’s wise to use task lighting to help illuminate your projects up close. It’s a good idea to be near your computer (or have enough space to pull out your laptop) so you can look up unfamiliar terms, search for tutorials, shop for fabric, or work on your blog.
I can’t say enough about getting — and staying — organized. You should give yourself easy access to your fabrics, tools and notions. When you need something, you don’t want to stop what you’re doing and look all over the place to find it. You don’t have to invest a lot of money or time, just use containers that make sense — which means they fit your stuff and your space. By sorting through your fabrics and organizing them, you’ll always know where to find them. Thread? Pins? Scissors? Everything —
everything
— needs a place to call home. Keep your supplies in order and you’ll be a much happier sewer.
I also highly recommend hanging a bulletin board behind your work table (or somewhere nearby, if you can’t fit one behind the desk). Use this “idea board”
to post your inspirational findings — or hang tools on it. Pin scraps to it so you remember to use them. Your board can easily turn into your best friend. If you have room, you can put a second, cushy chair nearby so you can take a break and look up at your board or pull out magazines and folders to find new ideas. Find or make a space that works for you!
While all of the bags in this book are easy to make, some are, well, easier than others. Each of the projects are assigned a skill level, but don’t be afraid to jump in where you want to. Sometimes enthusiasm is enough to take you to the next level. Here’s how we define skill levels:
NEWBIE
. Someone who has either sewn very little or has never sewn at all (but has always wanted to).
PRO
. Someone who has made a thing or two and is already comfortable at their sewing machine.
DAREDEVIL
. Someone thirsting for challenge and excitement in their crafty endeavors.
SEWING 101
HEM
. A common method of finishing a raw edge by turning it under once or twice and stitching (
see page
41
).
SEAM
. A line of stitching that joins two pieces of fabric (
see page
38
).
SEAM ALLOWANCE
. The area between the raw edge of the fabric and the line of stitching.