Happy Endings: Finishing the Edges of Your Quilt (19 page)
Read Happy Endings: Finishing the Edges of Your Quilt Online
Authors: Mimi Dietrich
Tags: #Crafts & Hobbies, #Quilts & Quilting
4.
Hand stitch the folded edge of the binding to the back of the quilt, using a blind stitch or slip stitch.
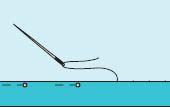
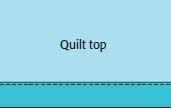
Double-fold binding can also be finished completely by machine. Sew the binding strip to the
back
of the quilt first, and then turn the folded edge to the front. Sew along the folded edge with the sewing machine. For this very quick method of applying binding, refer to “Machine-Finished Binding” in “Stitching Guide.”
Happy Ending Hint
When folding binding in half, match the two cut edges, but let the bottom layer extend slightly. You don’t need to measure this distance; you just want to be able to see the bottom layer. When you sew the binding to your quilt, you will be able to
see
both layers and will be in control if one shifts or unfolds. Try it on your next quilt!
Finishing Corners
Quilts generally have four corners that need binding. You can overlap individual strips of binding at the corners, make folded or stitched miters at the corners, or round the quilt corners off first and then use bias binding to turn the curves. Each of these techniques is explained in this section.
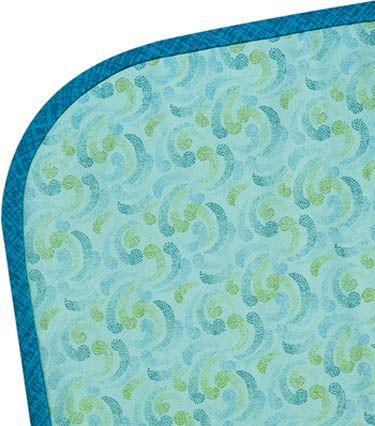
Rounded Corners
Rounding off the corners of your quilt allows you to apply the binding without stopping to miter the binding at the corners. Take a good look at the design of your quilt. If it has wide borders or wide areas of background fabric in the corners, you can round off the corners. However, if there is a very definite square pattern in the corner, your quilt will look better if you keep the corners intact and miter the binding.
Important:
You must cut your binding on the bias so that it will stretch around the curves.
1.
Mark the rounded corner with a pencil so that the circle touches adjacent sides of the quilt. Repeat for all four corners. You can round the quilt corners easily by using a round dish as explained on
page 22
.

2.
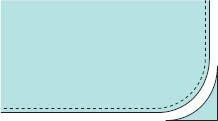
Baste through the curved layers. Trim off the corners, cutting on the marked line, before you attach the binding.
3.
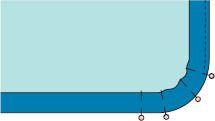
As you apply the binding around the curve, do not stretch the binding. If the binding is stretched, the corner will not lie flat when the binding is finished. Do not clip the binding to get it to go around the curve. As you place it around the curve, gently ease the binding fabric so that it matches the seam line on the quilt. This will allow the binding to lie flat when you fold it over the quilt edge.
Happy Ending Hint
Use a long straight pin to ease the binding under the presser foot on your sewing machine. You can also pin the binding around the curve before you sew.
Folded Mitered Corners
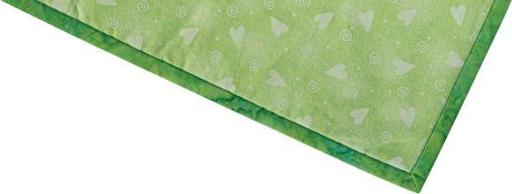
For quilts with square corners, folding the binding to miter the corner is one of the easiest ways to create a professional finish to your binding. It only takes a few minutes to fold the miters in the corners, and they provide the perfect accent to many quilts. Small quilts, wall hangings, quilts with narrow borders, and quilts with square designs in the corners look especially nice with mitered corners. You can make mitered corners using straight-grain or bias binding. Remember, there are only four corners on a quilt. You’ll be an expert by the third one!

