Happy Endings: Finishing the Edges of Your Quilt (27 page)
Read Happy Endings: Finishing the Edges of Your Quilt Online
Authors: Mimi Dietrich
Tags: #Crafts & Hobbies, #Quilts & Quilting
3.
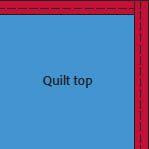
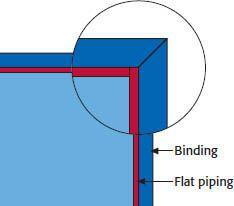
Apply the binding on top of the piping.
4.
When you turn the binding to the back of the quilt, the piping will appear between the quilt and the binding. Finish the binding by hand, stitching the folded edge to the back of the quilt.
Happy Ending Hint
You can add other interesting edge treatments just as you would add the flat piping:
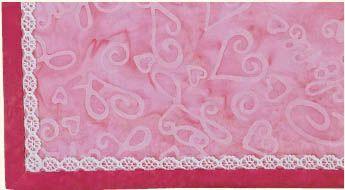
Lace:
Follow the directions for “Flat Piping” to insert narrow, flat lace inside the binding for a feminine touch to your quilt.
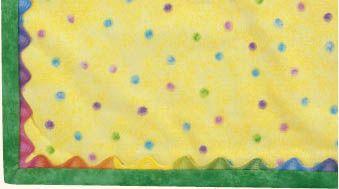
Rickrack:
Sew rickrack along the edge of your quilt before attaching the binding. As you turn the binding to the back of the quilt, the rickrack will appear between the quilt and the binding for a fun finish.
Adding Prairie Points
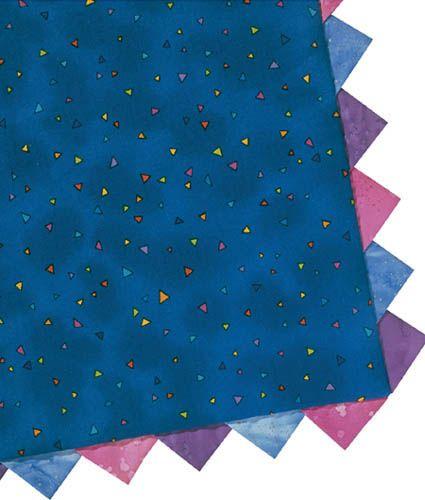
Prairie points are small folded triangles placed along the edge of the quilt. They can repeat a triangular motif in the design of your quilt, duplicate the color scheme of the quilt, or accent the design. Prairie points can be all the same color, or they can repeat a variety of fabrics in the quilt. If you want your prairie points to be assorted, you’ll need to make individual prairie points. If your plan is for all of them to be the same fabric, then you can use the continuous prairie-point method on
page 63
.
If you start with 3" squares (as described in our example at right), every 20" of quilt edge takes approximately 12 prairie points when they are overlapped. If the points are placed side by side along the edge seam, each point takes 2½". One yard of fabric is enough to make prairie points for a 60" square quilt. A full- or queen-size quilt requires 1½ yards, and a king-size quilt requires 2 yards.
Individual Prairie Points
1.
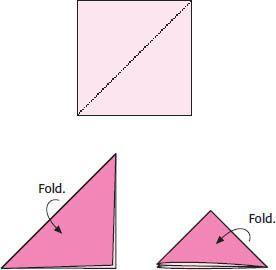
To make one prairie point, cut a 3" square of fabric. Fold the square in half diagonally, wrong sides together. Fold the square diagonally again, forming a smaller triangle. Once folded, the longest edge of the triangle will be attached to the edge of the quilt. After accounting for the seam allowance, the finished prairie point will be approximately 2½" wide at the base and 1¼" tall. If you want larger prairie points, you can start with 3½" or 4" squares.
2.
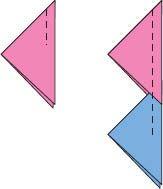
Make another prairie point, and then slip the fold of one point into the opening of the first one. This is how they fit together to go around your quilt. They can overlap a little or a lot, depending on the look you want or on the amount of fabric you have available.

3.
For a large quilt, make a long string of points before sewing them to the quilt edge. Start feeding the first point into your sewing machine, placing the cut edges on the right as you sew, and the folded tip under the needle. Sew for 1", using a basting stitch, and then feed the next point into
the first one, overlapping them by approximately ¾". Continue sewing and feeding prairie points until you have enough length for the edges of your quilt. Make a separate string of points for each side of your quilt.
4.
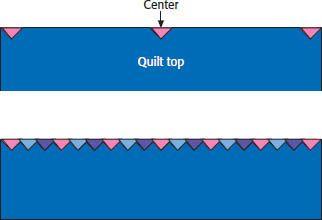
If your quilt is small or if you want to be more accurate about the placement of the points, you can position the points on the edge of the quilt before you sew them together. Start by placing one point in the center of one side of your quilt, with the long cut edge of the triangle matching the cut edge of the front of your quilt.
Place a prairie point at each end of the quilt side, making sure that the folded edges of the triangles aim in the same direction as the first one. Place another prairie point between these triangles, and then continue to arrange more folded triangles in between until the side of the quilt is full. You can overlap them a little or a lot, as long as they are evenly spaced.
